
Growing your own squashes at home is something a lot of people are thinking about but most don´t even try it. Mainly because most people think it is hard to do or very work-intensive but that is not the case!
In this artcle I will go over everything, that is important if you want to grow your very own squash at home and you will have a better idea of how much work it really requires!
What Kind Of Soil Is Best For Squash?
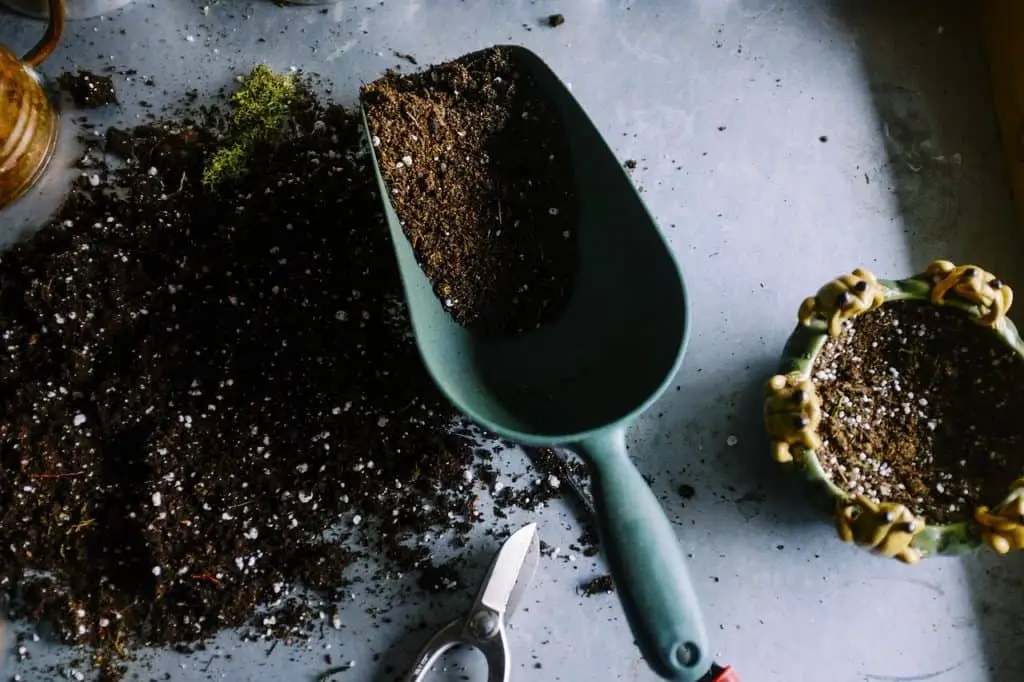
Squash does best in soils that are composted.
This contains the decomposed manure that is rich in organic nutrients.
You may grow this plant directly in the garden or even indoors, depending on your own preferences.
The summer and the winter variants, however, require soils that are no less than 1 inch deep.
Other than the quality of the soil itself, the pH also counts.
To grow the squash, you need soils whose pH are between 5.5 and 6.8. That is because they never withstand too acidic or alkaline soil kinds.
This range is not too acidic nor too alkaline. They are hence better placed to do well there.
What Kind Of Container Should I Use To Grow Squash?
If you choose to travel the container route, the one to choose has to be deep and large.
The roots of squash are fibrous. They spread out luxuriously to provide the necessary support and supply of ingredients your plant needs to thrive.
For one, the container itself has to be a pot or half-barrel. This has to possess a capacity of around 15-30 gallons.
Needless to say, the bottom of the container has to be perforated to allow for excellent drainage of the soils.
Remember, squash is an extremely thirsty plant which requires excess water to do well.
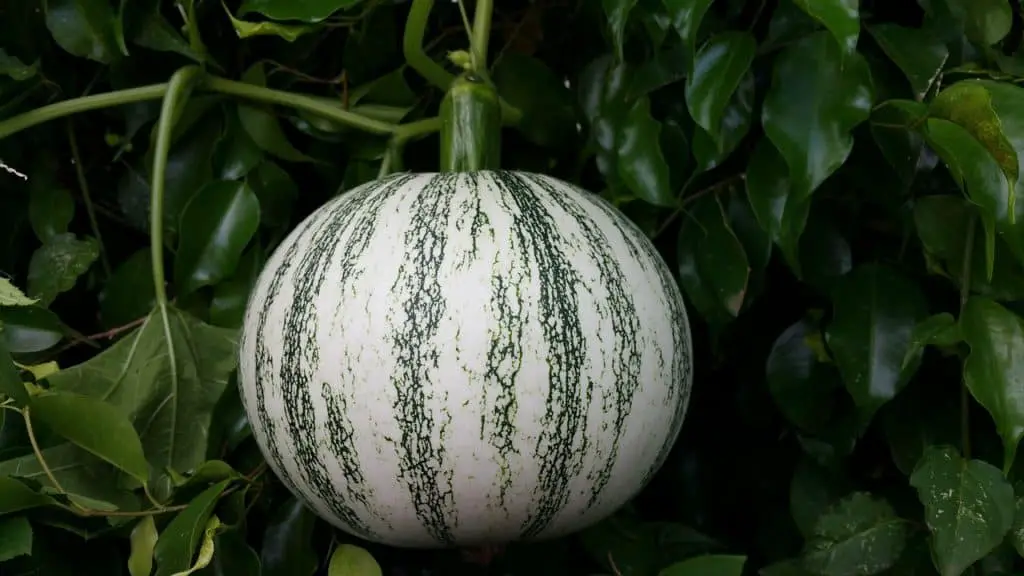
What Variants Of Squash Are There?
Like many other plants, squash too comes in many shades and types. Some 16 varieties stand out though. The following is a list of these varieties:
- Bonbon’
- ‘Gold Rush’
- ‘Bush Delicata’
- ‘Sunshine’
- Kabocha
- Yellow Summer
- Acorn
- ‘Eight Ball’
- ‘Pink Banana Jumbo’
- Butternut
- ‘Fortune’
- ‘Cuarzo’
- Carnival
- ‘Papaya Pear’
- Spaghetti
- Zucchini
When To Plant Squash?
To plant squash, you have to time your actions appropriately.
For one, this plant is sensitive to the seasonal variation in environmental temperatures and climate. You have to be sure that the variant you choose is not averse to the climatic conditions you are confronted with.
Then you have to consider the warmth of the soil. It ought to be preferably 60ºF/16°C at a depth that does not exceed 2 inches for outdoor planting.
For indoor planting, you have to set out before the expiration of the spring frost. Do so in the peat pots for best outcomes.
It may not always be that the soil you have in mind is ready to take on your squash.
That is why you have to prepare the soil appropriately for the subsequent task of planting.
This, you may do, by way of mulching the soil with some black plastic materials. They trap heat from the sun and channel the same to the soil.
Do so preferably at the onset of spring.
Then, you have to wait until the mid-summer to start planting. This way, the soil will have absorbed the levels of heat it needs to do a good job.
Moreover, you will also prevent issues like squash vine borers from arising. These are very common in the earlier stages of planting.
Choosing And Preparing The Planting Site
Obviously, before planting squash, you have to choose the most appropriate site and prepare it well for the job also. There are a number of factors you have to consider while so doing. These are:
Intensity of Sunlight
Like any other plant, squash also needs access to some intense sunlight.
For this reason, the area you intend to plant the squash has to be open and exposed to the sun completely.
It should preferably out in the open and in areas where there are almost no trees nearby.
Soil Drainage
Other than abundant sunshine, the area must also be well-drained.
Soggy soils have the tendency to accumulating acid and other harsh chemicals.
These, in turn, compromise the proper growth and performance of the plants. You want to set aside an area that is sloping to guarantee this.
Higher Moisture Contents
Though well-drained, the soil should not be fully dry. This plant does well in an area that contains higher levels of moisture.
You cannot do much about this issue though. It simply requires that you choose a place or a time that is both rainy and warm.
Level of Nutrients
Generally speaking, squash is a heavy feeder. You have to be sure hence that the area you intend to plant it is similarly rich in nutrients.
In particular, areas that have higher levels of compost and organic matters are the better to choose.
They are more likely to furnish the levels of nutrients needed.
Total Space
Lastly the total space you set aside also matters.
When fully grown, these plants require extra space to thrive well. This is especially true for the bush varieties.
If you have them in mind, be sure to set aside plenty of space. You want to give them sufficient room to thrive unhindered.
How To Plant Squash?
Having determined the soil and the growing areas, you now have to go ahead and plant the squash. Follow these procedures to actualize the process:
Plant the squash in the last one or two weeks of your spring.
Sow the seeds in holes that are around an inch deep.
Space the seeds around 2 to 3 feet apart from each other.
Add some nutrients to hasten the process of germination and growth Use the cloche to cover the soils after planting when in the harsh winter months Supply some fertile, rich, and warm soils to the squash to let it thrive luxuriously
How To Care For Your Squash?
Planting squash is one thing. Growing it is yet another thing altogether. To be able to obtain the best results, you have to undertake a number of ergonomic best practices. Below are but a few of them:
Mulch the area underneath and around the plant. This is to protect the roots from direct exposure and to discourage weeds from propping up.
You will also retain more moisture in the process.
Apply some modest amounts of fertilizer at the base of the squash as soon as it experiences the first bloom.
Water the squash frequently and consistently for best results.
This you should do throughout the growth and harvesting periods. The water levels have to be around one inch deep.
This is to make the water penetrate to no less than 4 inches downwards. Apply fertilizer from time to time to enhance the growth.
Find a way of attracting insects to the area to help with pollination and ultimately, fruit-bearing.
How To Fertilize Squash?
As noted above, you have to fertilize the squash to let it achieve its full potential.
This you can only do if you follow the best ergonomic practices available. Below are some of the crucial steps you have to take in pursuance of this noble act:
Select the right fertilizer. Stay away from those fertilizers that are rich in Nitrogen.
They encourage the plant to develop green leafy foliage as opposed to the fruits and flowers which are your primary target.
Instead, use the 5-10-10 fertilizers. They are formulated to develop better fruits and flowers as compared to the many alternatives that are in existence today.
Add a teaspoonful of fertilizer to each mound prior to the planting season. Thereafter, add some teaspoon yet again throughout your growing season. Be sure to water your crops well even as you do so.
What Pests To Look Out For And How To Get Rid Of Them
Like any other plant, squash is similarly affected by pests and diseases. It is certainly in your best interest to know more about these pests and diseases.
While at it, you also want to know how to combat them.
Below are some of the common diseases that do affect these plants:
Squash Vine Borers
This is a kind of a moth. It hatches on the soil and also eats away the leaves of the plant.
In the unlikely event that they attack your squash, they will interfere with photosynthesis and other vital issues which your squash needs to do well. That is why you want to eliminate it at all costs.
To do so, cover the base of the stems of the plant using fabric, mulch, or soil. This will suffocate the eggs laid by the moths and prevent the same from maturing fully.
Alternatively, use some pesticides to kill the eggs as soon as you notice them. Be careful though not to use too potential chemicals.
Squash Bugs
These are bugs much like the ordinary ones at the home.
They are averse to squash in they suck the plant juices and in so doing, cause some damages to them. This definitely results in reduced levels of harvests. Unlike the borers, they thrive under the leaves of the plants.
To combat them, space your squash farther apart and more uniformly. The space in between any two squash plants should be around 10 to 20 feet.
This will make the eggs and by extension the infections almost impossible to transfer from one plant to the next.
Cucumber Beetles
Other than attacking cucumbers, these pests also pose some serious damages to the squash plants.
They do spread out like the bacterial wilt and may not be easy to control. When in contact with your squash leaves, they feed on them in such a way as to damage them extensively.
Use the kaolin clay to diminish their impacts. Apply this clay on their leaves to prevent the beetles from eating the same leaves.
Other possible intervention measures include the straw mulch and the Spinosad. These two impede the movements of the pests to deter their potential damages.
Powdery Mildew
As the name suggests, the powdery mildew acts much like the ordinary mildew.
It is a fungal infection which affects the leaves of the squash plants. Its signs are gray spots, powdery white appearance, and tender stems.
It may damage your squash completely in such a way as to prevent it from thriving further.
To control its influence and impacts, refrain from watering the plants directly overhead. This will spread the fungal infections farther and wider.
Make do with organic controls like the compost tea, sulfur, and copper. They do have the potential to mitigate this issue completely.
Moreover, they also act as fertilizer which adds to the growth of your plants.
Aphids
Aphids are small insects which suck the saps of the plants.
There are around 4,000 species of aphids in existence today. Though non-poisonous, these insects can eat away almost the whole leaves and foliage of plants. This, in turn, makes your leaves stunted in growth, curly, and wilt.
Spray some cold water on the leaves. This discourages their stay on the leaves.
Pour some dust or ashes on the leaves of the plants as well. In so doing, you will kill the eggs which might subsequently give rise to mature aphids later on.
Then, of course, you might want to try the insecticidal soaps, horticultural oils, and the Neem oil.
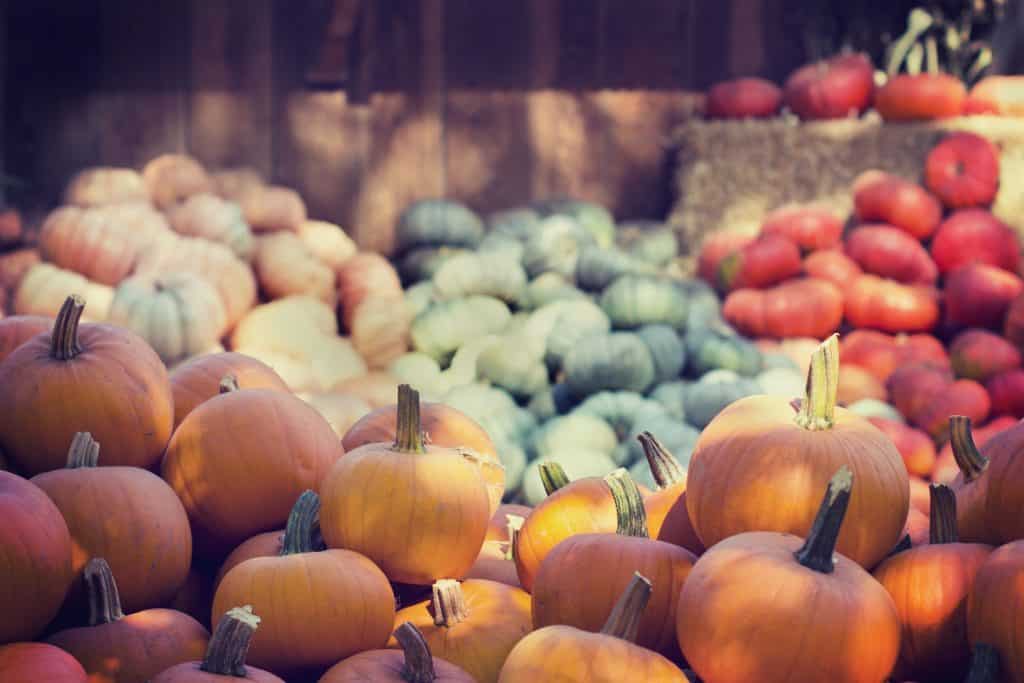
How To Harvest Squash?
Lastly comes now how to harvest the squash. With regards to matters harvesting, squash may be divided into two main kinds. These are the summer and the winter squash respectively. The following explanations endeavor to look into how each type may be harvested.
Summer Squash
As their designation implies, these are harvested in the summer. This happens before they attain full maturity.
It is at such a time that their skins are edible and are also soft enough to chew easily. Schedule the harvest at such a time when the squash is small and tender. That way, you will be able to accrue the best flavor. To do so, cut the fruit off the vine using a sharp knife.
Do not break it off. Leave around one inch off the stem of the fruit. Remove the overripe squash immediately in order to minimize the moisture and nutrient requirements.
Store in a refrigerator almost immediately to retain its freshness and stature intact for longer.
Winter Squash
Winter squash is harvested in the fall or moments before they attain full maturity. It is at such time that they attain a longer shelf life.
Wait till the rind is hard and deeper in color. This is typically in September through to October. Yet again, cut the fruit off the vine using a sharp knife. Do not break it off. Leave around one inch off the stem of the fruit. Store in a cool, and dark place immediately after harvesting.
You will require a temperature of around 50°F to 65°F (10°C to 18°C). Compost the vines as soon as you have plucked them off.
