
In this guide, I will tell you everything, that you need to know in order to grow your own sesame plant at home successfully.
It is not easy to grow Sesame indoors but it isn´t especially hard either. There are quite a few things to watch out for, that you need to know.
So let´s get started with choosing the right Soil!
The Best Soil For Planting Sesame In Pots
Generally, sesame plants grow pretty well in well-drained soils which are fertile with a neutral pH.
Sesame plants can do well in dry conditions as well, but they cannot tolerate waterlogging.
The plants also require full sun for proper development and maximum yield. Therefore, you should remember all these factors when selecting a suitable place for placing your growing containers.
The sesame crops are not selective about the types of soil, and some of the plant varieties have adapted to multiple soil types.
However, they grow best in properly-drained light to medium surface soil.
The perfect pH level for planting sesame crop is between 5.5 and 8. Alkaline or acidic soils are not appropriate for growing sesame.
The Right Temperatures For Growing Sesame
Sesame is usually a tropical crop that needs hot conditions throughout the development period.
Heavy rains, prolonged drought or frost conditions are not ideal for growing Sesame.
Extreme high and pretty low temperatures can affect the growth of the plant. The best temperature for planting sesame is between 25 °C and 35 °C.
Best Containers For Planting Sesame
You can utilize almost anything for sesame containers as long as it offers good drainage.
Just like many other herbs, sesame does not have extensive root systems, which means you can use smaller containers pretty well.
However, the smaller your pot, the less soil needed, which means you have a small margin of error, especially when it comes to watering the plant.
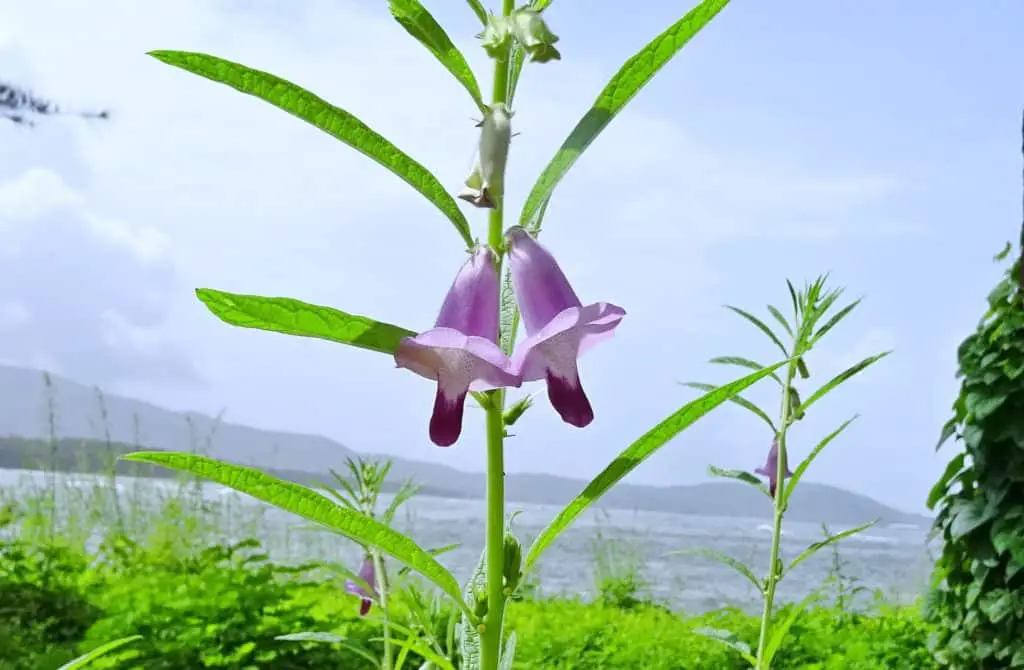
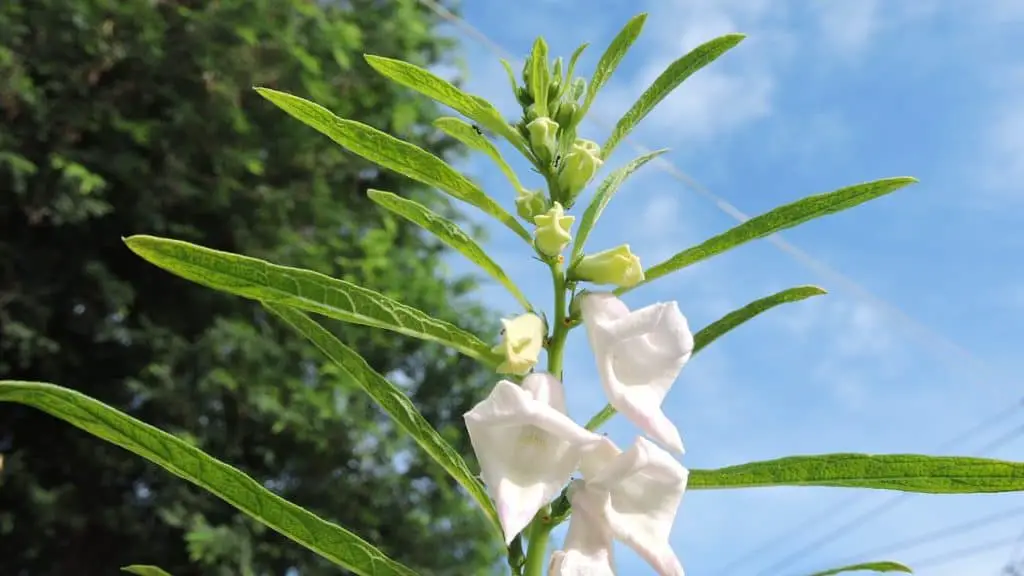
Choosing The Right Sesame Varieties For Container Growing
There is vast diversity within the numerous varieties of sesame seeds.
If you want to read about the origins of sesame in detail then you can check out this article with lots of useful information from Wikipedia.
However, the varieties of sesame are typically divided into two major types: shattering and non-shattering.
Most of the shattering types grown in the U.S have been generated from the variety K 10 or Kansas 10.
The seeds of these unbranched varieties have a high level of oil, but their sour flavor limits their ultimate value on the whole-seeds market.
The other shattering varieties often grown in the United States are Margo, Blanco, Dulce, Ambia, and Oro.
Non-shattering varieties are usually developed to promote mechanical harvesting.
Although these varieties normally contain less than 50% oil content, their seeds are used entirely for oil production.
Some of the available non-shattering varieties include Baco, UCR3, SW-16, SW-17, and Paloma.
Mechanical harvesting is usually more successful with sesame varieties with a height of 12 inches from the surface of the soil to the first capsule and minimal branching.
As you can see, there are many varieties of sesame available in different parts of the globe.
However, you should select a variety that’s easily available in your region. Some of the improved or hybrid varieties of sesame available on the market are VRI-1, VRI-2, TMV-3, TMV-4, CO-1, TMV-5, TMV-6, TMV-7, and SVPR-1.
Always consult with an agriculture specialist or an existing farmer in your region for having reliable recommendations for selecting a good variety.
How To Plant Sesame In Containers
Before sowing sesame seeds, treat them using Bavistin at the ratio of two grams per every kilogram of seed.
You should do so to prevent many seed-borne diseases. Planting sesame seeds in straight rows will be great instead of scattering your seeds throughout the containers.
Space the sesame rows to approximately 10 to 12 inches apart.
Mix the seeds with dry sand soil and then spread the mixture along your furrows to ensure even distribution.
You should mix one time seed using four times sand.
Make sure you sow your seeds to around1/2 to 2/3 inches deep.
Cover the sesame seeds with enough soil after sowing and then water your soil lightly. You can thin your seedlings to approximately four to six inches apart when they’re about 4 inches tall.
How To Fertilize Sesame
In general, sesame plants require less care when compared to other commercial crops.
However, taking additional care of the crop is recommended. That’s because taking care of the plants normally ensures good development of the sesame plants, and you will end up with a good yield.
In most cases, you do not have to put additional fertilizers for your sesame plants. Your crop can grow just fine if you’ve prepared the planting soil by following the system mentioned earlier.
Watering And Controlling Weeds
Watering Your Plant
Adequate and regular watering is essential for the proper development of sesame plants. Adequate and timely irrigation can also affect the total production.
Make sure to water the planting soil in the containers for the first time once you sow your seeds. Also, offer additional irrigation after one week of sowing your seeds, depending on the climatic condition and soil type.
Once the sesame seeds germinate, you should provide irrigation three times in three vital stages.
The first irrigation should be done at the pre-flowering phase of the plant, the second one at the flowering phase and the last one at the pod setting stage.
You should stop watering completely, 65 to 70 days immediately after sowing your seeds.
Controlling weeds
Weeds use up most of the vital nutrients from the planting soil, which means controlling them is incredibly important.
Make sure to take the first steps for controlling weeds in your planters while preparing your soil. Additional weeding will be required 15 to 25 days immediately after sowing the sesame seeds, and finally another one at approximately 15 to 20 days after your first weeding.
Sesame Pests And Diseases
Bacterial blight
Symptoms
• Water-soaked, minute and irregular spots form on the leaves, and they later increase and turn brown, under favorable conditions.
• The leaves become brittle and dry.
• The severely affected leaves defoliate fast.
Management
• Use some resistant varieties such as T-58.
• Destroying the crop residues.
• Early planting
• Steep the seed in Streptocycline suspension or Agrimycin-100 for 30 minutes.
• Spray with Streptocycline once you notice the symptoms.
• Spray two more times at an interval of 15 days if necessary.
• Crop rotation.
Damping off
Symptoms
• The fungus attack young seedlings, leading to water-soaked soft stems that fall over and die.
• Elongated black, brownish lesions appear on mature plants which increase in width and length girdling the entire stem, and the plant dies eventually.
Management
• Spray using spot drench Carbendazim
• Soil application of T. viride or P. fluorescens and sand or well-decomposed manure at 30 days immediately after sowing.
Cercospora leaf spot / White spot
Symptoms
• Small and angular brown leaf spots.
• Defoliation occurs in severe cases.
Management
• Spray using Mancozeb
Sesamum phyllody
Symptoms
• Floral parts turn into some green leafy structures, and the vein clears in different flowering parts.
• In cases of severe infections, the whole inflorescences get replaced by some small twisted leaves closely most of the branches bend down.
• Plants look like some brooms.
• When capsules form on the lower part of plants, they don’t yield quality seeds.
Management
• Uproot and destroy all infected plants.
• Spray using Dimethoate 30 EC or Monocrotophos 36
• Intercropping of Sesamum
Powdery mildew
Symptoms
• Small spots appear on all infected leaves and gradually spread to the lamina.
• Severely infected plants defoliate before maturity stage.
Management
• Apply Sulphur dust or Wettable sulfur.
Root rot
Symptoms
• The plants are infected at any phase of development.
• The leaves turn yellow, desiccate, and droop.
• The vascular bundles also turn brown beginning from roots and later extend to the tip.
• In severe cases, the entire plant becomes defoliated, bends down and eventually dries up.
Management
• Following crop rotation
• Destroy all the diseased plants’ debris by burning them.
• Soil amendment using farmyard manure to reduce the occurrence of the disease
• Seed treatment using T. viride or P. fluorescens
• Spot drenching using Carbendazim
• Soil application of T. viride/ P. fluorescens with manure.
How To Harvest And Store Sesame
Harvesting Sesame
The sesame seeds are usually ready for harvesting in three to five months after sowing the seeds and the same time depends on the different varieties of sesame.
However, in most sesame varieties, you can anticipate harvesting your crop when the stems, capsules, and leaves start turning yellow and the lower leaves of the crops begin to shed. Do not wait until the plants become dead ripe because it’ll lead to the shedding of the plant seeds.
To harvest your sesame crop, you should cut the plants at ground level and then stack them for seven to ten days in the sun to make them ready for the threshing phase.
After they dried compleatly you can now thresh them to get your bountiful harvest.
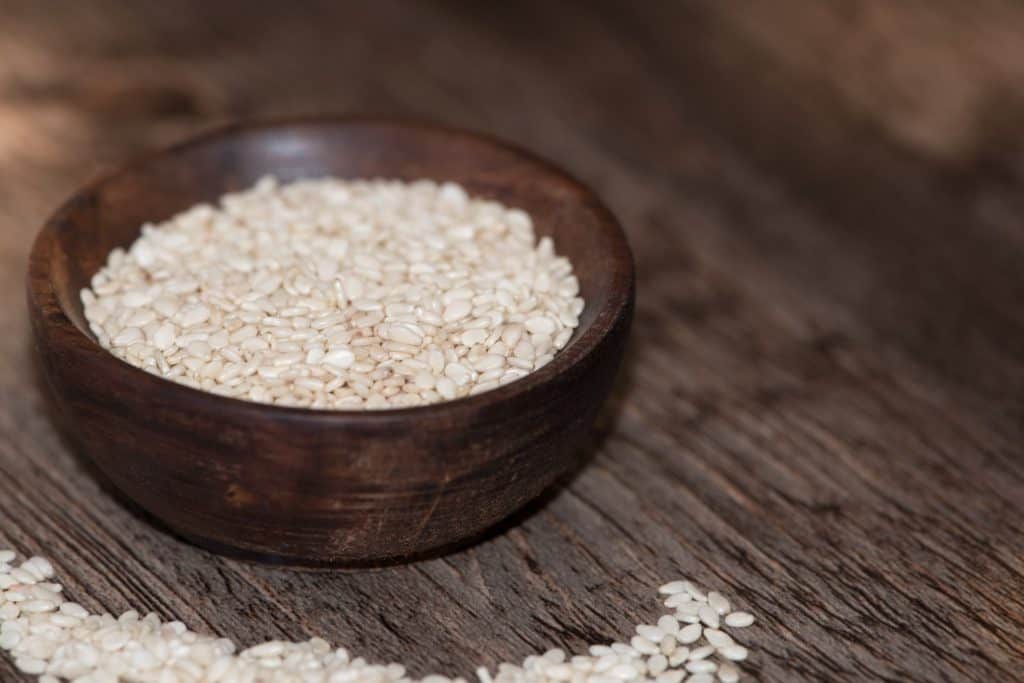
Storing Sesame
Poor storage conditions are known to lower the seed quality of sesame. Dirt, stones, or sand can easily mix with the tiny sesame seeds, which means it’s vital to preserve the quality of all harvested seeds.
The sesame seeds are usually laid in a pretty thin layer and shaken continuously from time to time until they attain a humidity level of 9%. The harvested seeds should be threshed without any further contact with the container soil, to avoid any potential contamination that can affect their quality.
Sesame seeds are left to dry outdoors and stored only when there’s approximately 6% humidity.
Moist seeds often lead to incredibly low yields, particularly for oil production.
They can also clog some parts of the machine utilized for oil pressing. Besides, moist seeds are usually prone to fungal infections; therefore, making sure that the sesame seeds are properly dry before storing them in containers is vital.
Conclusion
Growing sesame at home in containers can produce maximum yields of this seed.
It is an appealing plant for gardeners who face heat or drought problem during the summer season.
Although this crop grows perfectly in rich and well-drained soils, it can also do well in sandy soils with neutral pH, as long as it’s given enough water during the germination stage.
The super seeds of the sesame plants are loaded with lots of energy and are also vitamin-rich, containing magnesium, potassium, calcium, vitamins E and B and protein.
It’s cooking value is still popular in the Middle East countries, and sesame seeds are currently grown and consumed across the globe.
Sesame seeds from your container garden can be utilized in everything from baked goods to tahini, adding unique flavors and a big burst of nutrition in a pretty tiny package.
Sesame oil is also popular for its therapeutic effects internally and externally, even being utilized in traditional medicines, especially in China to combat baldness.
Sesame seeds are also high in calcium, and many people find them beneficial when it comes to reducing cholesterol and lowering blood pressure levels.
The dosage is incredibly easy if you like using sesame seeds, which means you can add them to anything.
