
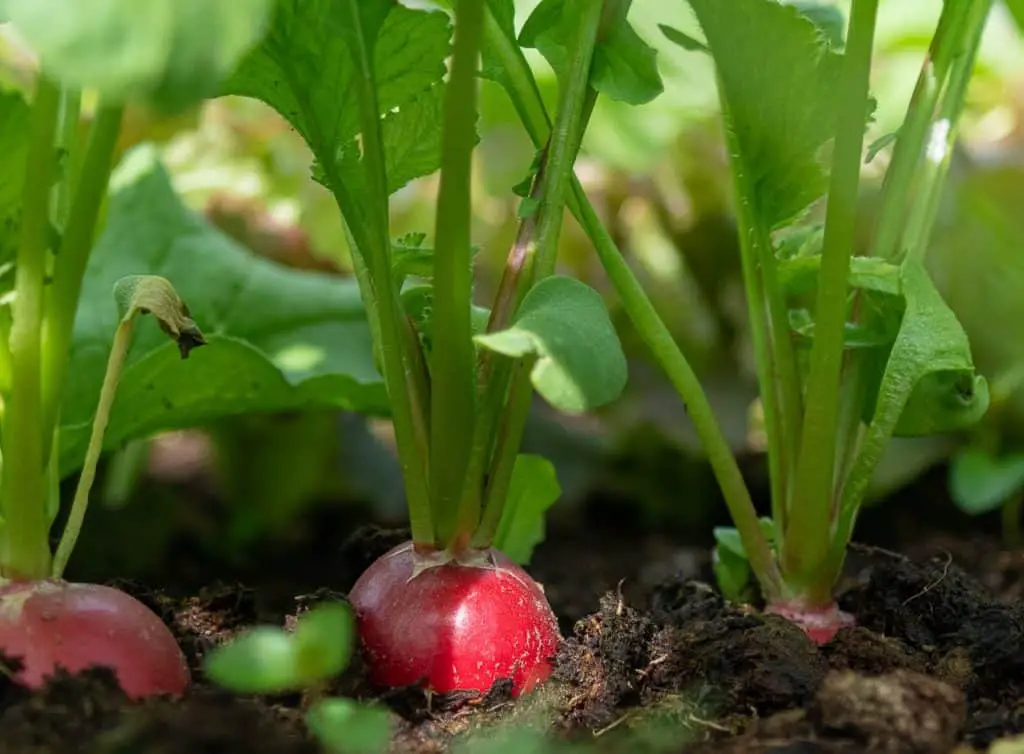
Growing radishes in a pot or other container doesn’t take very long. It can usually be done in less than a month. All you need are a few items and the right growing conditions.
In this article, I will tell you everything, that you need to know in order to create these conditions and get a successful harvest.
What Container Should I Use For Growing Radishes?
Choose a container that best meets your needs.
Most radishes grow well as long as they have enough room for their roots to grow.
Using a pot or other container that’s at least six inches deep should suffice.
It doesn’t matter what size or color your container is, as long as it’s large and wide enough to allow your radishes to grow.
You may want to look for a container that either already has drainage holes or that you can make holes in to allow for water drainage.
What Is The Best Soil For Grwoing Radishes?
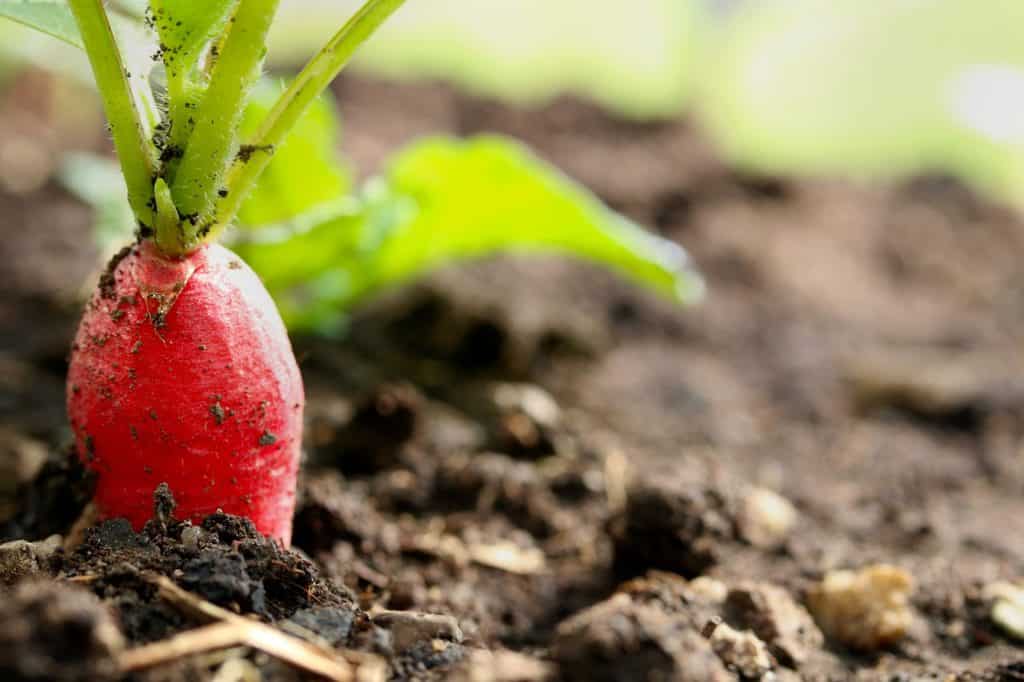
Although radishes typically grow well in any kind of soil, they tend to do better in soil that is rich in organic content.
There are many kinds of organic soil you can buy that will do the trick. Read the label to learn about what’s in the potting soil.
It should have plenty of organic material. The type of potting soil you select should also drain well.
Soil that drains properly will allow your radishes to grow faster.
How Do I Water Radishes Correctly?
Be careful when watering your radishes. The soil should be watered regularly, but pay attention to your radishes as they grow.
If the soil is too wet, that condition can cause root rot.
On the other hand, if the soil is too dry, the radish roots can become fibrous.
Regular watering and using a container that provides proper drainage can help ensure that your radishes are getting just the right amount of water that they need in order to thrive.
How Much Sunlight Do Radishes Need?
Radishes respond well to sunlight. It helps the plants to expand their roots and aids in their development.
About 7 to 8 hours of sunlight per day are recommended.
You may want to invest in sun lamps for your radishes if you live in areas that don’t receive a lot of sunlight or during the colder winter months.
Although they benefit greatly from the sun’s rays, the hot overhead summer sun can be dangerous to your radishes.
They typically grow better during the cooler spring and fall months.
Because of this, you can mark off time on your calendar to start planting radishes and continue to track their progress.
You can plant them and let them start to grow indoors and then eventually move them outdoors as long as weather conditions are favorable.
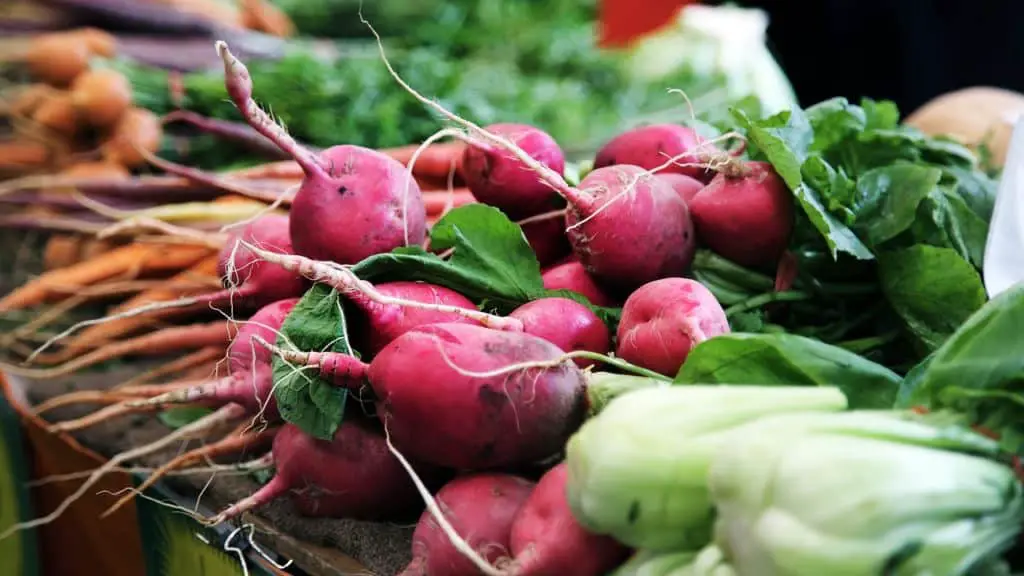
What Different Varieties Of Radishes Are There?
There are different kinds of radishes that you can grow depending on the season.
There are spring varieties of radishes that grow well during the cooler spring and autumn months.
Common variants are Cherry Belle, White Hailstone, and Crimson Giant, among others.
These radishes are generally more oblong in shape and are smaller in size than other more common types of radishes. Spring radishes taste great, but they also have a shorter shelf life than other crops.
Winter radishes, such as Spanish black, Daikon and watermelon radish are perfect for people who prefer to store their vegetables for later use.
These varieties vary anywhere from about 6 to 12 inches in length when fully grown.
Although they’re referred to as winter radishes, they grow well in late summer or early autumn to be stored during the colder winter months. They will last in refrigerators and storage cellars for months.
How Do I Plant Radishes The Right Way?
Planting radishes is easy. Here’s a quick step by step runthrough:
Step 1: Prepare Your Container
Prepare your planting container. It should be about 6 inches deep and 18 to 24 inches wide. Your container should also have holes for drainage.
Step 2: Prepare Your Soil For Planting
Fill the container with potting soil. The soil should be organic and lightweight. Avoid using soil from your garden, as this can be quite heavy and doesn’t drain well enough for your radishes to prosper.
Step 3: Add Fertilizer
Add fertilizer to the potting soil. There are many different types of fertilizer you can buy, but selecting a product with time-release can be a great convenience for busy gardeners.
Using a fertilizer with an even ratio such as 14-14-14, for example, should work well. You should add about a half-teaspoon of fertilizer for every gallon of potting mixture that you use in your container
Step 4: Add Your Radish Seeds
Add your radish seeds. They should be spread out evenly throughout your container. Cover the seeds with about 1/3 of an inch of potting soil.
Step 5: Water Your Radishes Regularly!
Keep an eye on their root structure as you water to avoid over or under-watering them. Plants grown in containers tend to dry out faster, so pay attention and keep to your watering schedule as much as possible.
How To Care For Radishes?
Make sure that your radishes receive about eight hours of sunlight a day.
You may have to supplement natural light with sun lamps on cloudy days or when it’s raining or snowing outside.
Fertilize your radishes when they begin to sprout.
A water-soluble fertilizer with a good balance of nutrients should suffice. Follow the instructions on the product label when using, and stick to a regular schedule for fertilizing your plants.
Repeat this process every week or two until your radishes are ready to be harvested.
Spread out your radishes once they grow to an inch or two in height. Doing this allows the root structure to expand as much as necessary.
Your radishes should be dispersed evenly every couple of inches in your container.
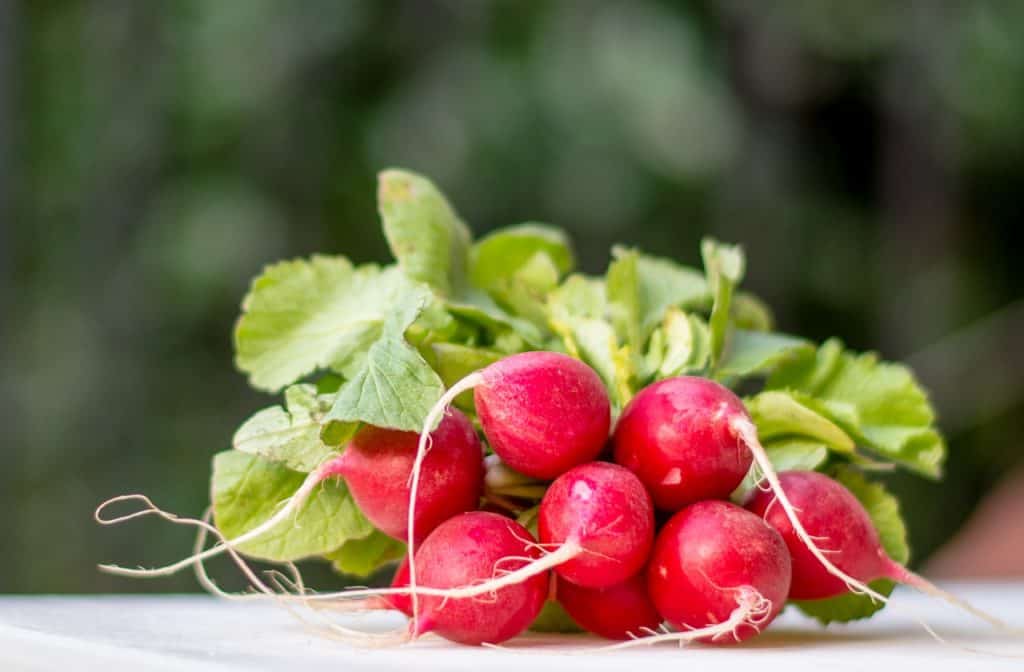
Harvest your radishes when they are ready. Most traditional varieties are full-grown after about 23 or 24 days.
Some winter varieties and other types of radishes can take longer to grow.
Allowing your radishes to remain in their planting container beyond their growing time can cause them to have a bitter taste. It can also cause them to have a coarse exterior.
What Pests And Diseases Should I Look Out For?
There are also a few pests to watch out for. These pesky insects and others have been known to eat radishes and their foliage:
- Aphids
- Cabbage loopers
- Cabbage maggots
- Flea beetles
- Harlequin bugs
- Slugs
- Snails
Certain pesticides have been effective against some of these insects, but be sure to read the warning label on any product you buy before using it.
Some of the chemicals they contained could do more harm than good to your crop.
Here are a few ways that you can be proactive in warding off those troublesome pests:
- Water your plants early in the morning as opposed to watering primarily in the afternoon or evening.
- Weed around your radishes regularly. Regular weeding will help to prevent the moist and dark environment that many insects flock to.
- Feel free to rotate your radishes regularly. Don’t keep your plants in the same area all of the time, especially if your radish plants are in areas that you know pests have appeared before.
- Make sure that you plants are placed in areas that provide for good air flow. Many bugs like shady, quiet areas. Regular air flow can help flush out pests that could harm your crop.
- Add fabric row covers to your plants. Most of these covers are lightweight, and can be pulled over your crops easily. They provide protection from the elements and help to warm up the ground faster. These covers also provide an additional line of defense against potential harm from instects.
- You can also make your own protective shields for your radishes. You can use empty paper towel or toilet paper rolls and place them over your radish plants. These covers not only protect against pests, but can also leave would-be attackers such as cutworms exposed to birds and other natural predators.
You can also add insects that are beneficial to your garden. Another approach to avoiding pest attacks is by adding insects that either attack those invaders or provide other benefits to your plants.
A few examples of the kinds of insects you should consider adding are:
- Aphid midges. Unlike regular aphids, aphid midges feast on other bugs instead of plants in your garden.
- Assassin bugs. These tiny creatures are a good line of defense. They prey on ants, caterpillars, mosquitoes and other pests that frequently devour and destroy crops.
- Ground beetles. Ground beetles enjoy feasting on slugs, snails, caterpillars and other ground-dwelling insects. They are popular additions to many home gardens.
- Parasitic wasps. These flying insects are known for laying eggs inside other insects. Their larvae feed off of and eventually devour their hosts. Parasitic wasps are effective against cabbageworms, aphids and other types of crawling insects.
- Praying mantis. Another good choice is the praying mantis. They’re not picky, they will eat just about any kind of insect that they come into contact with.
- Spiders. Adding mulch to your garden can attract spiders. Spiders are well-known for attacking flies, ants and other insects after drawing them into their webs.
My Radishes Don´t Grow Properly! What Did I Do Wrong?
There may be some times when your radish crop either fails to grow or underperforms; This can be caused by a variety of different things. Here are a few things to keep in mind:
- Check your potting soil’s nitrogen content. If there is too much nitrogen or the soil is considered to be neutral in terms of acidity, this could make your radishes grow slower than normal. Read the label of any potting mix that you buy or consult a master gardener to find the perfect balance for your crop.
- Make sure they have enough sunlight. In order for your radishes to flourish, they need at least six to eight hours of sunlight every day. This helps them to produce adequate bulbs. Examine your current growing conditions and feel free to move your container or add artificial light if necessary.
- Watch the temperature. Another thing to keep in mind is the temperature. Radishes tend to perform worse when the temperature is 80 degrees or higher. On hot, humid summer days, radish plants will probably sprout more flowers than bulbs. That’s why many experts recommend planting radishes during the cooler, drier spring and autumn months. Afternoon or morning sun is usually preferred.
- Make sure your radishes have enough room to grow. Another reason why radishes tend not to grow is overcrowding. The seeds were too close to each other and the plants don’t have enough room for their roots to spread out. Keeping your radishes at least two inches apart from each other will ensure that their root structure can expand as the bulbs continue to grow.
- Water is essential. Regular daily watering is important for your radish crop. There’s a fine line between over and under-watering crops. Closer attention will need to be paid to crops that are grown outdoors. Nature can sometimes wreak havoc and upset their growing conditions. Excess rain can cause the soil to be waterlogged. Radish plants may stop creating bulbs as leafy tops grow in their place. Monitoring the situation and rotating or moving your plants as needed will help you have a bettr crop.
- Check the soil conditions. One of the most important things to keep in mind is the condition of the soil your radishes are planted in. The soil should be organic or otherwise full of important nutrients to help with their growth. If they are planted in a dry or humid setting, they should be moved or replanted as soon as possible. Composting the soil and adding fertilizer on a regular basis will also aid in the process.
Radishes are a healthy alternative to many of today’s processed foods.
They have a nice flavor and crunch, and they complement salads and other appetizers and main courses perfectly.
You can grow most varieties of radishes in your home garden in less than a month. While they’re relatively easy to grow, you still have to make sure that they receive proper water, sunlight, and nutrition.
You’ll also have to watch out for insects that could eat or otherwise harm your crop. It may take a little more time and effort than you might be used to, but having a healthy crop as an end result is well worth it.
You can enjoy them right away or serve them as part of a meal for family and friends.