
Growing peppers at home is surprisingly easy if you know what to look out for. In this article, I will tell you everything, that you need to know in order to grow your own peppers at home.
First off, let´s have a look at the different pepper varieties that can be grown at home.
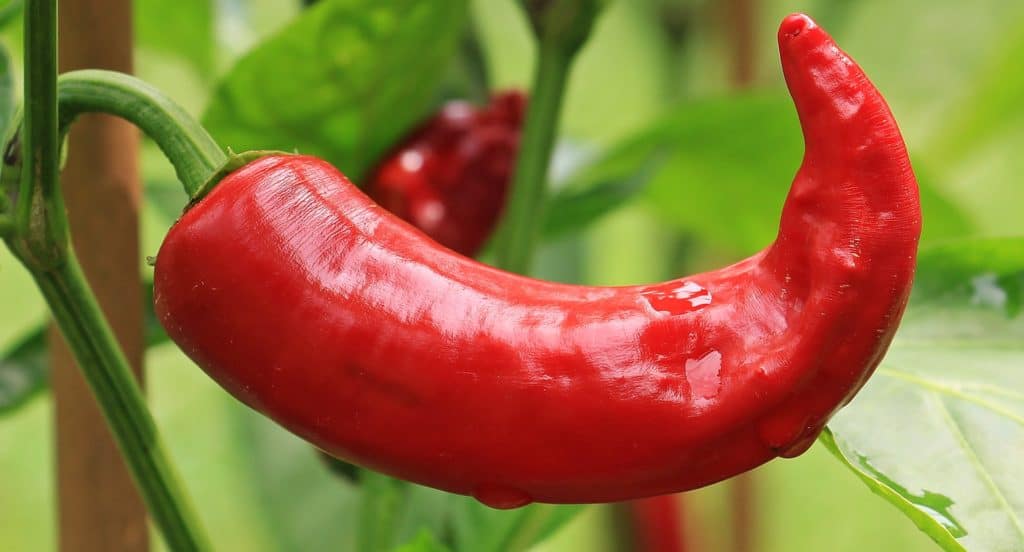
Pepper Varieties
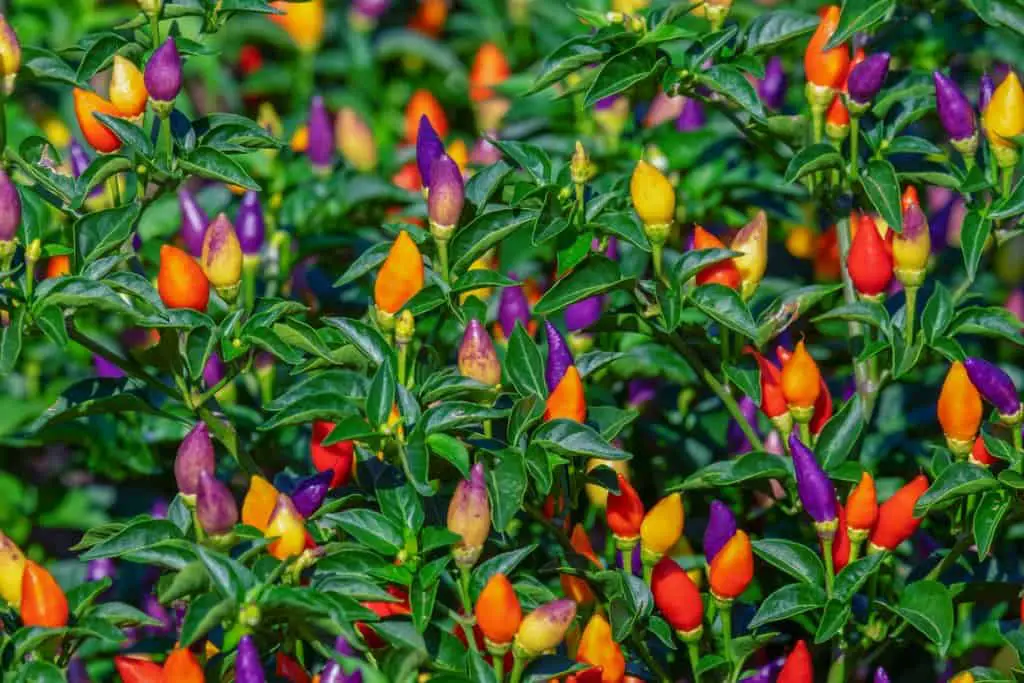
What you know as ‘pepper ‘are plants in the genus capsicum.
Cross-pollination both intentionally and via nature has resulted in over 3,000 varieties of capsicum, and still, more and more varieties of pepper continue to be unveiled each day.
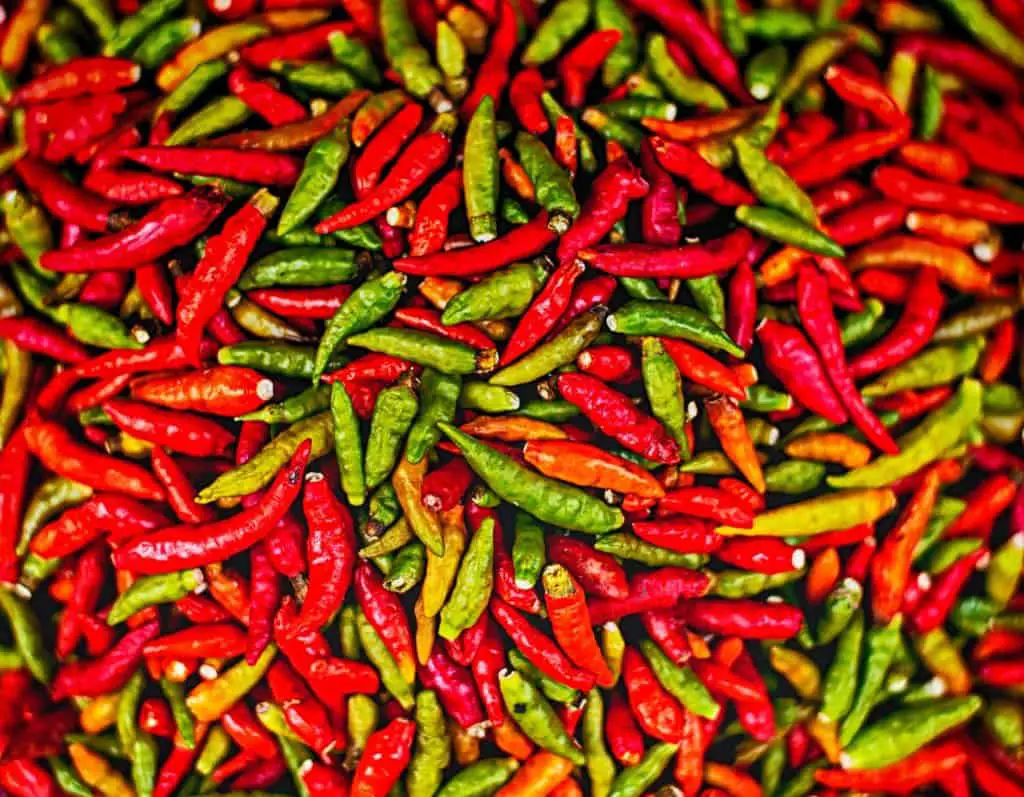
All domesticated pepper fall into five major species, Capsicum annuum, Capsicum chinense, Capsicum baccatum, Capsicum frutenscens and Capssicum pubescens.
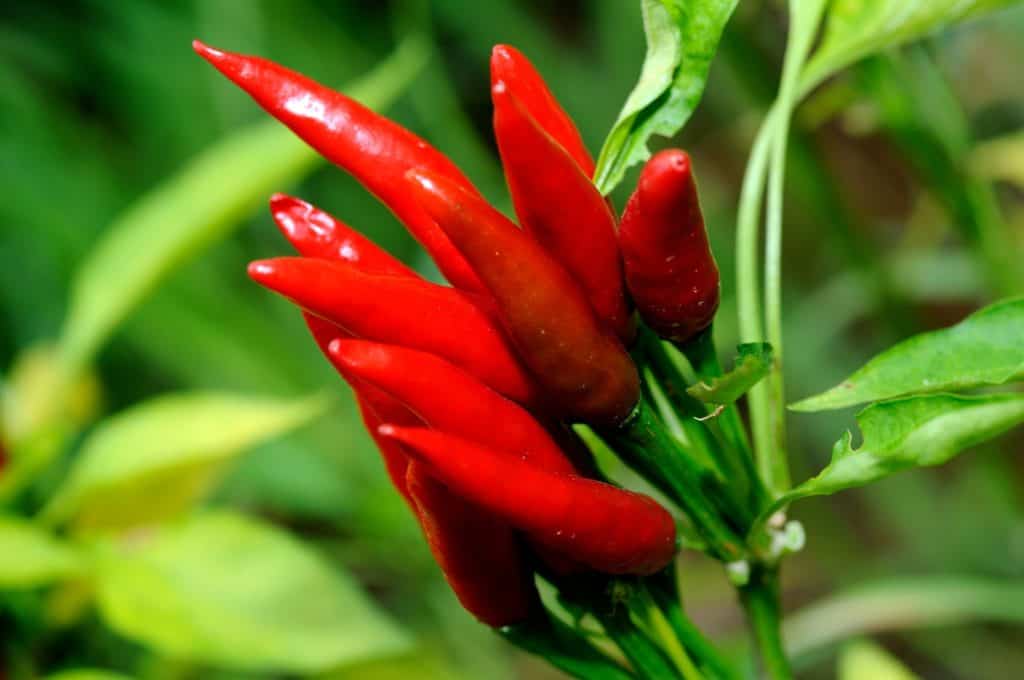
Of the five species only two harbors the commonly used pepper, these are Capsicum annuum and Capsicum chinense.
Capsicum annuum species are the most widely cultivated species and peppers in this species have varying flavors and intensities; they arrange from sweet to mild and hot flavors.
| Capsicum annuum Peppers | chinense species |
|---|---|
| Bell pepper | Scotch bonnet |
| Cayenne | Habanero and |
| Poblano | Red Savina habanero |
| Jalapeños | Propagation of pepper |
| Thai | |
| Hungarian wax | |
| NuMex Twilight | |
| Chile de arbol | |
| Hatch | |
| Pequin | |
| Cubanelle | |
| Pimento | |
| Serranos | |
| Anaheim |
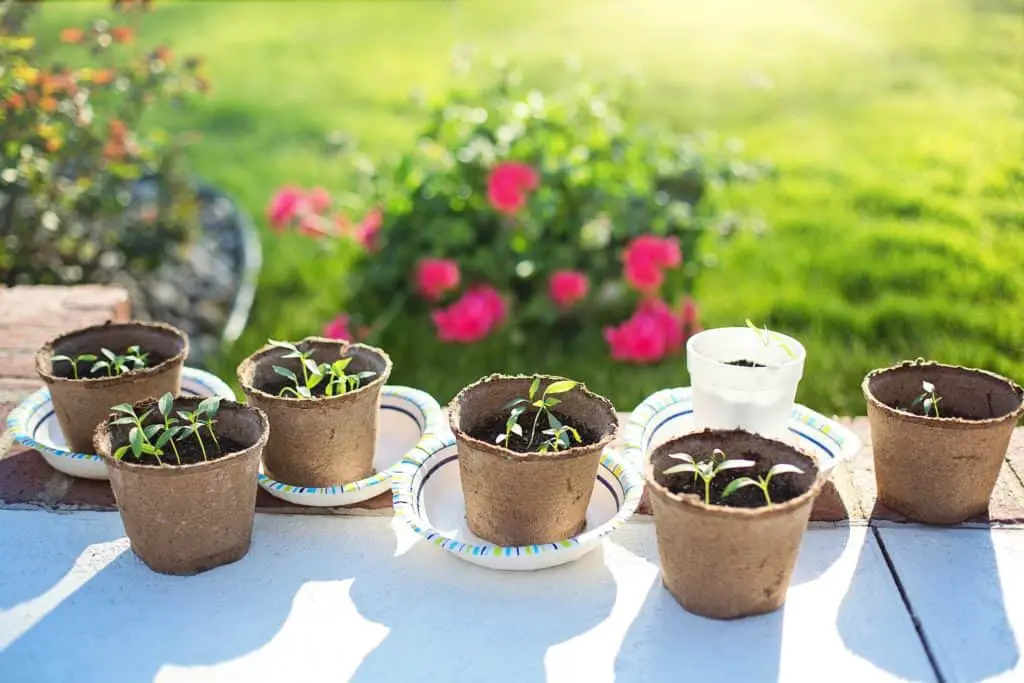
The primary method of propagating capsicum is from seeds.
Purchase high-quality seeds online or from your local garden store. It’s essential to raise the seedlings in a nursery or seedlings pot before transferring them to the big containers.
The best time to start your seeds is 6-10 weeks before the last spring frost.
But in the tropics and subtropics, you can start the seeds at any time provided it isn’t in extreme summer conditions.
The seedlings should be raised in seeds trays with and an appropriate seed mix.
In 1-3 weeks, your seeds should have sprouted; these will depend on the seed quality and the prevailing weather conditions.
You know the seedlings are ready for transplanting when they have attained four real leaves.
Selecting Containers for your Pepper
Since peppers come in different varieties and will grow to different sizes, it’s essential to choose a container that will be perfect for the specific variety.
You can use any type of container to grow your peppers, but before using the containers, it’s vital to wash them in a ratio of 1:9 ratio bleach and water to sanitize the containers.
A single pepper plant should be grown in an 8-10 inch pot.
You can also grow your pepper in a plastic bucket or dish pans. As you choose your containers, ensure it has one or more drainage holes and adequate capacity to support the growth of the plants.
A 10-12 inch pot can support 1-3 pants depending on the variety. If you’re in a tropical climate, avoid suing black containers to grow bell pepper
Peppers have relatively large roots; thus, the pot should be at least 14 inches deep; a deep container is vital for increased productivity.
The drainage holes in the container need to be covered with mesh to prevent soil from escaping from the pot and also to keep away pests.
How to Plant Pepper in Pots at Home?
You can either opt to grow the peppers seedlings in your nursery or purchase ready seedlings from a local nursery.
Depending on the warmth, humidity and other factors, the germination process will take 1-3 weeks.
Sow the capsicum seeds at a depth of ¼ inch in a high-quality starting mix.
Make sure your seed trays are placed in a warm spot with temperatures of above 60 F (15 C) which are ideal for germination.
Additionally, make sure the trays are moist but not overwatered. If you want to achieve faster germination, cover the seeds trays with a plastic wrap.
Fill the cells in the seed tray with the appropriate seed mix or soil.
It’s essential to know capsicum seeds should not be planted too deep. The ideal potting mixture for these seeds should be rich organic matter.
Potting mix with perlite or vermiculite is also suitable for germinating the pepper seeds.
In each cell place 2 or 3 capsicum seeds, this is to make sure you achieve even germination.
Cover the seedling trays with a light layer of potting mix or soil. Small chilli varieties such as cayenne, perquins and habaneros grow better indoors.
Water the seedling tray to make sure your seeds get adequate moisture.
Keep watering your seedling tray for 1 to 3 weeks as you observe if germination is taking place. Your seedling trays must not be soggy at any time.
The seedling trays should be in a place where they access adequate warmth.
Once the seeds start sprouting ensure they have access to minimal light.
When the seeds are germinating, you can have them in a dark place where they access filtered light.
The temperatures at this location should be above 65 °F (18.3 °C). A dial place for this process can be a garage with a window or in a shed.
Your seedling trays should remain in this area until you notice seedlings sprouting.
If you had covered the tray, uncover them and transfer them to a bright window. At this point, the seedlings require sufficient indirect sunlight.
For example, you can move them to the bathroom or another room with a skylight. The young seedlings will need at least 6 hours of sunlight each day. If you have any sunny window in your house, you can use grow lights.
Eliminate weak seedlings by trimming with a scissor or pinching with your hands. The healthy, large and seedlings with fuller levees and healthy stem s should be left to continue growing.
When your seedlings have at least two sets of true leaves its time to transplant them.
Check the seedlings each day to determine if they are ready for transplanting.
Prepare your container by adding enough potting soil/mix. This is where you’ll transplant the seedlings. Use high-quality potting mixture preferably a mixture of age manure and sphagnum moss or any other suitable mix.
Water the seedling tray and remove the seedlings from the tray with the rootball.
Before careful not to interfere with the seedlings roots to avoid transplanting shock.
Squeeze the seedling cell gently to expel the content s without damaging the roots.
Plant the seedlings in the container you’ve prepared. Hold the pepper seedlings with one hand and add the potting mixture to your larger pot to cover the root ball and part of the seedlings stem.
The soil/potting mix should cover at least the first set of the seedling’s leaves.
Transfer your pot to a sunny window. Peppers thrive best in adequate sunlight.
For best results ensure your seedlings are exposed to a daytime temperature of 80 F (27 C) and around 70 F (21 C) at night.
The ideal place for the capsicum plants is in a bright sunny window; in this location, the plants will be exposed to adequate direct sunlight.
Despite been exposed to direct sunlight, the plant will also remain warm.
Caring for your Peppers
Location
Peppers thrive well in the sun.
They need a minimum of 6 hours of sunlight each day.
The place you have kept your plants should be shielded from strong winds.
Watering
Ensure the soil in the container doesn’t get dry. Water the pant every time you not the soil in the container is dry.
Peepers love adequate watering, but you must avoid overwatering since this may lead to fungal growth and rot.
Besides, overwatering can affect the flavor and make the pepper less hot.
Since you’re growing the pepper in containers, these plants require watering more frequently compared to plants in the ground.
Test the soil in the upper inches of the pot to ensure it’s dry before watering the plant. If these top inches of the soil in the container aren’t dry, there’s no need to water the plants.
The perfect time to water the plants is early in the morning if you water the plants during the day, they lose the water faster, and in the nighttime, it may lead to waterlogging.
Watering the capsicum at night can afford the right condition to fungi and bacteria, thus affect the plants.
When watering your pepper, avoid aiming at the leaves, aim at the base of the plants.
Fertilizing your Pepper
The frequency of fertilizing your plants will vary depending on the fertilizer to use and the stage of growth.
Your capsicum will need sufficient nutrients when flowering and fruiting. Natural organic fertilizers are the best for capsicum.
Read and follow the instructions on the products label to know how to use the product.
The ideal way of fertilizing your peppers when grown in pots is by using a water-soluble liquid fertilizer.
This should be done every week or bi-weekly as per the manufactures instructions. When your capsicum plants are well fed, they remain adequately hydrated and looking healthy.
Underfed plants will show pale green leaves and stunted growth. Your sufficiently fed peppers will show immense new growth and lots of flowers and fruits.
You may choose to feed your pepper exclusively on homemade organic fertilizers, or you may alternate these with commercial and artificial products.
When buying fertilizers for your plants, buy products that are specifically made for potted peppers.
This product will provide the main nutrients needs by the plant, which are nitrogen, potassium, phosphorus and calcium and magnesium to ensure high-quality fruits and to prevent flower abortion.
Most organic fertilizers developed for tomatoes will supply sufficient nutrients to your peppers.
Regular fertilizing is vital for capsicum plants to ensure the plant remains healthy and highly productive.
Combine your balanced fertilizer such as 2-2-2 and 10-10-10 with water and feed your pepper.
Organic fertilizers such as kelp or fish emulsion or any concentrated liquid fertilizer will also work well in feeding your pepper.
You may note that during winter, the peppers may stop growing and enter a dormancy stage.
At this point, flowering and fruiting also stop. It’s, therefore, vital to reduce the amount of fertilizer you are applying ion the plants and resume when the plant reverts to active growth.
But if you’re using grow lights for your plants, this may not be necessary.
Peppers are heavy feeders just like tomatoes thus you have to feed them regularly, probably after every 2 weeks or so.
Note that you should not use a fertilizer with too much nitrogen since it’ll lead to foliage growth and limit of flowering and fruiting.
Once every month you’ll need to feed your plant with manure tea or compost.
Also, spray Epsom salt to your plants once each month to increase their health and promote health in your peppers. (Use 2tps for each gallon of water and spray the solution to the plants).
Pinching
If you want plants with bushy growth, it’s vital to pinch the young capsicum plants.
When your peppers attain a height of six inches, clip the top of the plant. Similarly, if you see flowers appearing early in the plant’s growth, pluck the flowers.
As the plant continues to grow, be on the lookout for infected foliage or branches and remove them
Common Pests and Diseases affecting Peppers
Aphids, two-spotted mites and glasshouse red spider are among the pest that affects pepper.
When these pests attack the plants, they become pale, mottled and appear covered in webbing, where the mites are hiding.
Immediately you observe these signs; the leaves start falling.
The best remedy to deal with this pest is to use biological control, especially in the greenhouse.
Pepper grown in the house is less prone to pest and diseases, and you’ll hardly have to use disease and pest control measures.
Aphids
Aphids are the number one enemies of pepper, therefore, keep watch on these.
Scout for aphids on leaves and soft shoot tips of plants; aphid appears as colonies in these locations.
They will suck pas and excrete sticky honeydew in these points, thus promoting the growth of black sooty molds.
Cutworms, flea beetles and hornworms can also affect capsicum.
If you want to keep your pepper free form diseases and pest makes sure they are well fed and not bushy.
If you not any attacks by pests and diseases, use organic products to deal with the problem.
Common diseases affecting pepper include bacterial spot, rot, anthracnose, mildew, mosaic and bacterial spot.
To avoid most of these disease plant pepper varieties that are resistant to the diseases. Also, avoid overwatering your plants since this creates the right environment for the development of diseases.
Supporting Peppers
You may need to support your capsicum plants, especially during fruiting. For this purpose, you can use tomato cages or use a stick to support the stem of your peppers.
Peeper varies that show spreading growth like the redskin don’t require staking, but upright varieties such as the jalapenos will benefit from staking.
A wire cage or making the pants grow through loops will provide the necessary support. Besides staking, you should move your potted pepper plants away from places where they are exposed to wind and strong sunlight.
Pollination
Although capsicum plants are self-pollinating and they don’t require pollinators to set fruits, the presence of pollinators will enable the plant to set more fruits than normal.
If you’re growing your pepper plants in a place where pollinators such as bees can’t access, trying suing your hand to assist the plant in pollination. Shake the plants gently each day when they are blooming to enhance the distribution of pollen on the plant.
Besides you can use a small brush to distribute pollen on the flowers.
Soil
You can decide to make your potting soil or purchase ready potting mix.
Peppers love well-drained fertile and loose soil. The ideal potting soils should have high qualities of organic matter.
To achieve this you should add aged manure, or compost to coco peat/peat moss, or perlite/ vermiculite or sand.
Additionally, you can add 5-10gm of neem to the potting soil to prevent soil-borne diseases and pests from attacking your peppers.
Temperature
For optimum growth, pepper requires a soil temperature of more than 60 F (15 C). On the other hand, the best temperature for seed germination is around 68 F (20 C).
The average temperature for growing the peppers should be between 70-90 F (21-32C).
Harvesting Peppers
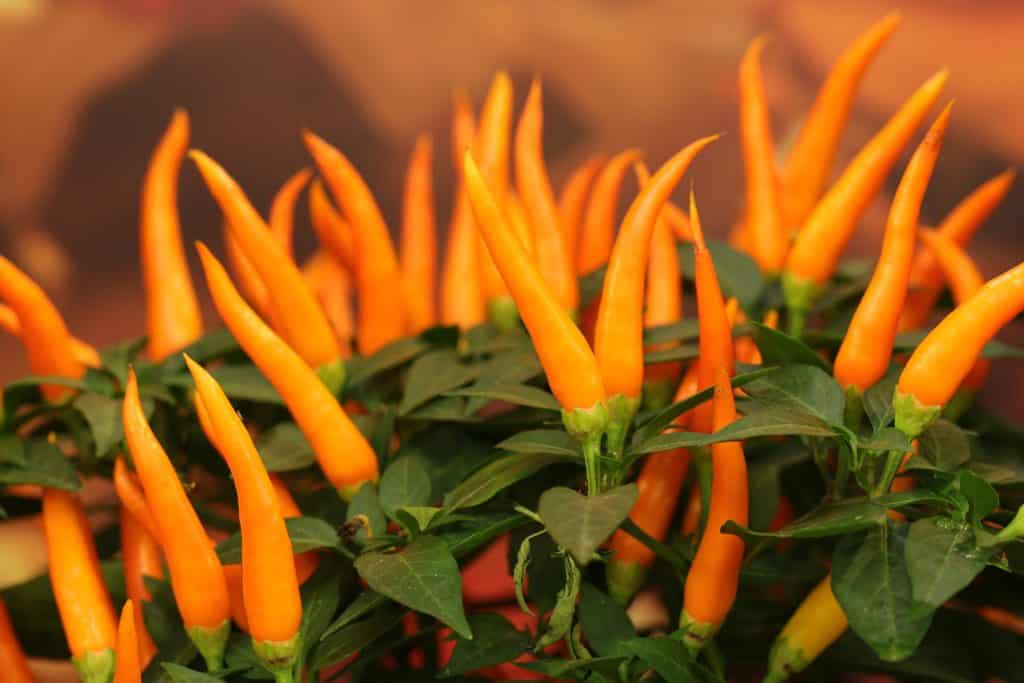
In 60-90 days after transplanting your peppers, you are ready to harvest.
You can harvest the peppers when they are green or when they have attained maximum growth and changed in color to red, orange or yellow.
Pepper Harvesting Tips
Just like summer squash, and cucumbers, peppers are mainly harvested when they are green.
For example, originally bell pepper was harvested while green before the introduction of colored capsicum such as the red, yellow and orange varieties.
You may harvest peppers at any stage, but the best flavor is achieved when you harvest the peppers at maturity.
If you want your plants to keep on producing more pepper, keep on harvesting the fruits before they mature.
The plant will make efforts to produce more fruits to develop viable seeds. You will have sacrifice the flavor for high yields
On the other hand, if you allow the fruits to ripen, you’ll get fruits with potent flavor but at the sacrifice of high yields.
Additionally, you’ll have to wait for long before you can enjoy your pepper.
Thus if you want to avoid this problem, it’s essential to plant two or more plants of each variety you’ve chosen to plant.
Let one plant grow to maturity and harvest the rest while still unripe; in this you’ll enjoy pepper throughout the season. Additionally, when harvesting pepper avoid picking the fruits by hands, use sharp shears, scissors or knife to prevent damaging the branches.
Harvesting and Storage Tips
If you want the best flavor for your peppers, use them on the day you harvest them.
Besides you can leave the peppers on the kitchen counter to ripen for a day or two.
Avoid storing peppers in plastic wrap, crisper drawer or in bags in the refrigerator. Capsicum is warm-weather fruits will not do well if stored in cold temperatures.
If you have an oversupply of peppers, consider storing them in the following ways.
Drying
Dying is the best method of storing the thin-walled hot peppers. These are mainly the small varieties that can dry on the plant.
If you wish to retain the color and flavor you shod, dry the peppers slowly most preferably under a shade.
Freezing
This serves as the easiest way to store peppers, but remember they’ll soften when thawed but they won’t lose their flavor.
Use the frozen peppers for your stews, sauces and soups.
Pickling
Peppers are low-acid fruits that require caning under low pressure. A simple ay of pickling peppers is by adding 4 cups of water, ½ cup of pickling salt & 4 cups of vinegar in a crock. You can add fresh herbs or a clove and garlic.
Note: Be careful to avoid burning your fingers when handling blistering hot pepper varieties like Thai dragon and Habanero.
These peppers contain ‘capsaicin’ which is the substance responsible for ‘heat”, in hot pepper.
This substance is a volatile oil that can burn your fingers. It’s essential to use plastic or latex gloves when handling hot peppers to avoid any contact with any part of your body, especially the eyes and mouth.
