
Celery is a biennial member of the Umbellifer family. I must explain these terms. The Umbellifers are the family to which many herbs, such as parsley belong. There are some toxic members of the family.
They are known scientifically by the name Apiacaea [pronounced a pee A see.]
Biennial plants have a two-season life cycle. This means that they grow one season, die back to a small shoot and then flower and produce seed in the next season. As we eat celery in the first season you will not see its flowers or seeds.
There is a problem common to many biennial plants. In very dry weather they can bolt. This means that instead of a two-year life cycle they can complete their growth in three months, producing seed and flowers.
If this happens they become inedible. So in very dry weather, you must ensure that they are well watered.
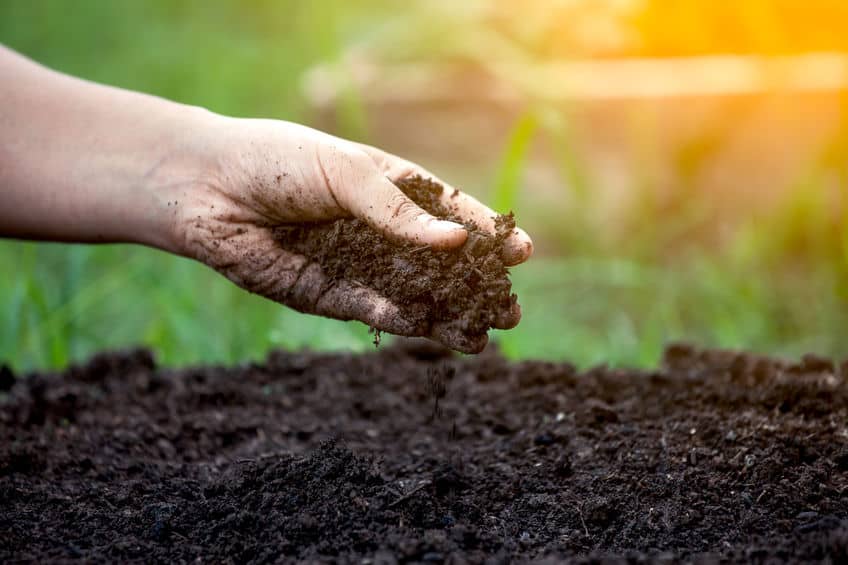
What Kind of Soil Is Best For the Plant
Celery likes a slightly alkaline soil.
Soils are classed according to their pH. Soils from pH 1 to6.5 are acidic. 7 is neutral.7.5 to 15 are alkaline.
Celery needs a pH of about 6.6-6.8.
This means that it will not grow well in soil that is right for citrus trees, which need pH 5.5 to 6.5. So if your soil is acidic and you want to grow celery add lime.
Don’t worry, you will not need to add much lime to make a difference. You are not likely to make your soil too alkaline, as it takes 10 times as much lime to raise the pH from level 6 to 7 as it does from level 5 to 6.
Celery likes loamy soil.
I will explain. Soils have three main sorts of particles. These are sand, silt, and clay. Sand is the largest and clay the densest. There is also an organic matter.
The most important element in the organic matter is humus, which is a dark material produced by the decay of organic matter. Loam is a soil in which there is a balance between different kinds of particles.
You can add organic matter to your soil by adding compost or manure. A variety of different soil particles gives your soil a good structure. A good structure helps water retention around soil particles and also good drainage.
All vegetables like the soil to be well worked into a fine tilth. This is the crumbly soil produced when you hoe and rake the soil. Ensure that your soil is light and crumbly. The soil should not be too wet. Vegetables do not like waterlogged soils. But the soil should not be too dry.
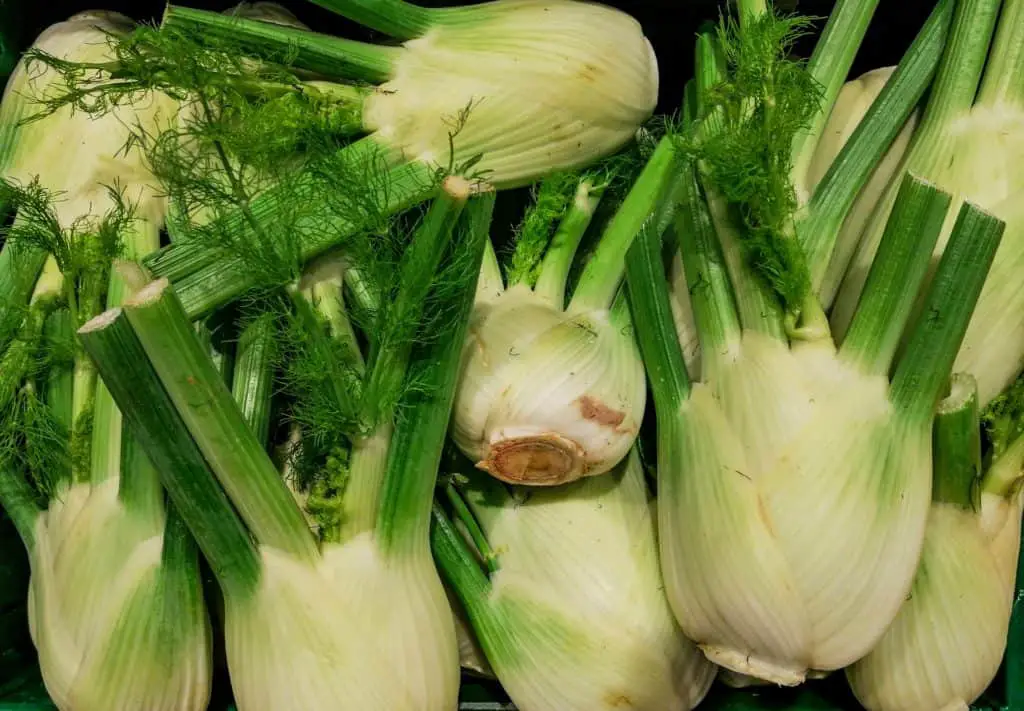
What Variants Are There
Very many plant species have varieties, and vegetables are no exception.
Celery varieties come in three groups
1: Self -blanching
Standard, which includes, for example, Lathom Self-blanching and Lathom Galaxy
Green-stemmed, which is popular in North America. It includes Greensleeves and Tango F1 [F1 denotes a hybrid]
Pink-stemmed, which includes Pink Blush and Pink Champagne
2: Trench Celery
This is a large heritage variety popular in Britain. It includes Mammoth White, Mammoth Pink and Martine.
3:Leaf celery
This is very popular with people with small gardens. All varieties beginning with the name Amsterdam belong to this type. Also in this category are CCA types-Cut and Come Again types, which you take a leaf or so at a time and leave growing.
Can It Be Grown in a Container
The answer to this question is yes.
But if you are growing in a container you must make your own soil. To do this get some general-purpose compost, add a handful of lime, mix the two materials up and water well.
As celery does not have long roots, you do not need a deep container or great depth of soil for celery.
Make sure that the soil is well-watered. The problem with light watering is that it only wets the surface of the soil, so begin by giving the container a good soaking.
Any kind of container will work.
Containers come in various types: wood, metal, plastic and ceramic, such as terracotta.
Ceramic containers are heavy and can break easily. Terracotta can break in cold weather. Wood needs to be painted or varnished every two years to prevent its decaying. A good, strong plastic container will last for years.
You can grow a single plant in a small pot, but there is little point in this. You need a large container that can grow several plants. A raised bed will work well for growing celery.
You can make your own containers.
I have grown herbs in tires salvaged from a local car mechanic. Sometimes I stack one tire on top of another. Filled with compost they make good, durable planters that have lasted years. I also use pallet collars salvaged from a heating engineer.
These make excellent raised beds. But be aware. Tires and pallet collars have no bottom that can act as a barrier to weeds springing up through your celery, so lay them on a good geotextile fabric. I use this fabric on my plot and have been well-satisfied with its weed prevention qualities.
Can Celery Be Grown Indoors
Yes, celery can be grown indoors.
Many people grow herbs in their houses. Celery can be grown in a warm conservatory, especially if it gets the sun.
You can grow it on a sunny balcony or near a window which lets in lots of sunlight.
How to Plant Celery

Do not sow seed directly into the ground, as it can be smothered by weeds. Sow it either in seed trays or better still in modules.
These should be filled with compost. Celery seeds need light to germinate, so sow them directly on the compost or covered by a thin layer of sand. Celery seeds need to vernalize.
This means that they need a period of cold to begin germinating. Their skins begin to crack open during this period, allowing the root and shoot to break out. The temperature should be 10 to 15 degrees C, but do not over-expose them to temperatures below 10 degrees for too long, as the seed can bolt.
Alternatively, purchase seedlings from a garden center after the threat of frost has passed. Plant them in seed compost. Then as they grow re-pot them in potting compost.
When transferring seedlings from trays or pots prick them out with a wooden spatula. Do not handle them by the stem, which is fragile. Hold them by the leaves. Seedlings grown indoors, even in a glasshouse, should be hardened off by placing the pots outdoors during daytime as the days grow longer and warmer and taken in at night. If frost threatens protect plants with horticultural fleece.
When planting out in containers place the young plants in the compost, firm them in by pressing the soil around the roots with your fingers. Then spread a layer of vermiculite or horticultural grit around them.
This is to suppress weeds whose seeds blow in on the wind. Do this gently to avoid damaging the vulnerable young plants.
Celery is a cool-season plant, so plant it in spring. Some varieties can be planted in the fall.
Some varieties will grow through winter.
A: Planting Self-blanching Celery
This is a straightforward procedure. Pant out your seedlings when the risk of frost is finished. This will depend upon your climate zone. Space the young plants 15 to 28 centimeters apart.
You can plant in blocks or rows. The larger the spacing between plants the thicker the stems will be. The lesser spacing tends to produce slender, naturally blanched stems.
You are advised to take precautions against slugs and nails at this stage. Some growers lay a fleece over the plants.
B: Planting Trench Celery.
Trench celery likes rich, moisture-retentive soil and it produces stems larger than other types of celery. This is why it is grown in a trench. Dig a trench about 30 centimeters deep and as long as you need.
Put down a layer of manure or rich compost along the bottom and then partly refill the trench with soil until it is about 5 cm deep. Water the soil well. This shallow trench serves to retain surface water to the benefit of the celery.
Plant your celery crop in rows with the plants 30 to 45 cm apart. This should also be the distance between rows. The trench is normally dug in spring, but in drier areas, it can be dug in fall so that it can take in rainwater without becoming flooded.
Trench celery is optionally branched. Blanching is wrapping the stems in a light-excluding substance to ensure that they are white and therefore sweeter.
Traditionally this was done by heaping up straw around the plants or by earthing them up, as is done with potatoes to protect against frost. Nowadays you can purchase collars that are wrapped around the plant’s stem and lightly fastened to it with a pair of bows so that the collar can be taken off for inspection and replaced.
As an alternative, you can use black paper, but it will need replacing after heavy rain. Do not use black plastic/polythene wrapping, as this makes the stems sweat. Do not tie the bows too tightly as this can make the twine cut into the plant.
C: Planting Leaf Celery
This is a smaller form of celery which is said to be suitable for small gardens. Plant out 23 to 25 cm apart, or alternatively 13 cm apart and thin out later to prevent crowding.
You can plant in either rows or blocks. This kind of celery can be planted in fall for a winter crop. You can start cutting your crop after about four weeks. Cut and Come Again varieties can be sown regularly intervals during the season.
This kind is not usually blanched.
How to Fertilize Celery
The general rule for plants is that you apply a base dressing two weeks before planting them out.
This is fertilizer applied to the soil. It can be a well-rotted manure or compost. Do not use fresh manure as it is too chemically active and can damage the plants. Worm compost is very rich and should only be applied in small doses.
Work the dressing into the soil by either digging it in or hoeing. As a general strategy, some gardeners like to add trace elements to their soil. This can be done by applying seaweed meal [powdered seaweed] or rock dust, which is ground igneous rock, to the soil.
The latter only needs applying every five years. You can add a balanced fertilizer to the soil, but manure or compost is better as they add humus.
Growers normally apply a dose of liquid manure once a week during the growth period. This is part of the watering schedule. As an alternative, you can use compost tea, which is a liquid form of compost. Comfrey or nettle tea are excellent alternatives to compost tea. You make these two by soaking nettles or comfrey in water for a few months.
Both plants are nutrient-rich. The smelly liquid from a worm composter can also be added, but always dilute it.
Watering
Keep your soil well-watered.
The technique is to give a thorough soaking at least once a week. Keep a special eye on your container vegetables, as container soil dries out easily.
The same goes for raised beds.
What Pests to Look Out for and How to Get Rid of Them
There are several pests affecting celery. Slugs and snails eat tender shoots. You can now purchase organic slug pellets that work by gumming up the pest’s digestion. These are preferable to the toxic ones, which poison the birds that feed on the slugs. Choose pellets that have organic status. The best technique is to encourage natural predators.
On my plot, I encourage frogs. I have a small pond into which some years ago I put frog spawn. Frogs return every year to breed in their birth pond. Since then I have had little or no problems with slugs and snails, and the frogs are well-fed! You should encourage birds that feed on slugs. Also, ensure that there is no plant debris left lying around in your plot, for slugs can hide beneath it.
There are various commercially traps for slugs available. You can make a beer trap. This is a jar dug into the ground and part-filled with beer. Slugs are drawn by the smell, crawl in and drown.
But I have found from experience that slugs like a quality beer. A cheap beer did not work.
There is the celery leaf miner, one of a large group of flies whose larvae tunnel into leaves, leaving silvery trails like large blisters in their wake. They are rarely fatal to the plant, but they damage the crop and look unsightly.
Just take off and burn the infected leaves. If you have containers thoroughly wash them out every fall to ensure that to pests or their eggs are over-wintering in them.
Fungal diseases are a major problem. The biggest danger is root rot. This is caused by a virulent organism called Pythium, one of a large class of micro-organisms that attack plants.
You only see it through its effects, which are weak and failing plants. There is no cure for most, if not all fungal diseases. Simply dig up the infected plants as soon as possible and burn them.
Do not grow celery in the same bed for several years afterward, four or five to be safe. If your containers are infected, thoroughly wash them out and disinfect them. Discard and do not reuse the compost in them.
Brown spot is similar. This is sometimes known as a celery leaf spot. This is a less threatening disease than Pythium is. But it makes the crop unsightly and not as appetizing. The treatment is the same as the treatment for Pythium because even though the disease is less serious, it can persist in the soil.
A traditional remedy is to dust the leaves with old soot. This seems to prevent attacks. It derives from the days when London chimney sweeps sold their soot to farmers from nearby Kent, known as the garden of England.
The farmers allowed the soot to weather before they used it in their fields.
How to Harvest Celery
This is the simplest bit. Just cut the stems when they are large enough and when you need them. You do not need to cut all at once. Cut as near to the ground as possible for maximum use of your crop.
Use a sharp blade, either a kitchen or a gardening knife. Wear good gardening gloves to avoid cutting your fingers. Do not use a table knife as it is not sharp enough.
It is better not to use household scissors, for they are not sharp enough and can crush the stem. Cut off the top as well as the base of the stem.
Garden secateurs [cutters] have their uses. However, I prefer not to use anvil secateurs because they work by driving one sharp blade against a metal bit, so they suited to hard stems, like wood and so can crush tender stem-like celery.
I prefer to cut sensitive, tender stems with a bypass secateurs, which are very sharp garden scissors. With these, you get a clean cut.